 It’s pretty easy to get started creating animations in Flash. In this tutorial, we’ll take a look at creating frame by frame animations in Flash. Frame by frame animation is created by drawing an object in blank keyframes while changing the placement of the object in each drawing. When the sequence is played, it looks as if the object is moving. Take a look at the video tutorial. For a more detailed look at this process, scroll down the page.
iPad users watch the movie here>Frame by Frame Animation
How to Create a Frame by Frame Animation in Flash- Step by Step
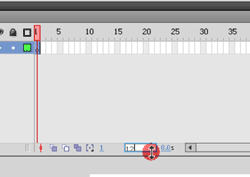
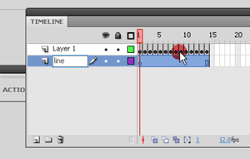
Open up a new Flash file in Action Script 3.0. Go to your timeline and set the “fps” (Frames per Second) to 12.0. You could make your frame rate higher, but that means more drawings. When you are creating a frame by frame animation, the less drawings you can draw without sacrificing smoothness is key. Anything less than 12 fps is choppy.
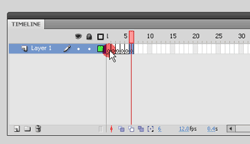
Now insert new blank keyframes across the timeline by using the “F7” key. You may want to give yourself at least a second for your animation. In this case, that would be 12 blank keyframes.
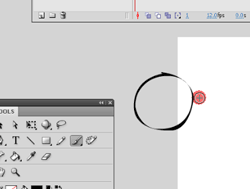
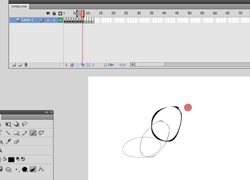
Now, highlight the first frame in your timeline, grab your paint brush, and start drawing. In this demonstration, I’m drawing a ball bouncing, so I’ll draw a circle in my first frame. Remember, the grey area is not part of your stage and will not be seen when your export the final animation. It’s okay to have part of your animation spread into these areas.
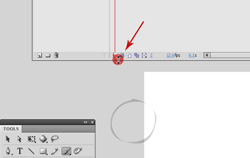
Go to the next blank keyframe by clicking on it, or by pressing the “.” button on your keyboard. Turn on the “onion skin” in the bottom of the timeline. The onion skin feature allows you to see a “ghost image” of your previous frames.
Now just draw your object in a slightly different place on your stage in each of the blank keyframes. The further you move it from it’s last location, the faster the object will look like it’s moving. In order for an object to move slower, create your actions over more frames.
Once you have finished drawing your frame by frame animation, you can add drawings of objects that don’t move across one blank keyframe. To do this, create a new layer by selecting the new layer button in the timeline.
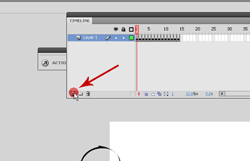
Change the layer order so that the new object is on the bottom of the layer order. Draw whatever you want on this layer. In this case, I will draw a line to indicate the ground that the ball is bouncing on.
And that’s it. You can quick export your frame by frame animation by pressing “ctrl+enter”. Your finished animation will likely look something like this…
Adding color is next. We’ll take a look at that in the next lesson.
