 Tweens are commands for animation that are built into Adobe Flash. With CS4′ s release we saw a new tween added. It was really a familiar old friend just with a new name-“classic tween”. A classic tween is a simple tween that allows for the movement of an object from place to another, or to create an effect such as glowing or fading. A classic tween has multiple purposes. It is pretty straight forward and easy to use. It will save you time compared to a frame by frame animation. One thing to remember is that a classic tween usually needs a keyframe to work, as opposed to a blank keyframe. Here’s a video tutorial on how to create a classic tween in Flash CS 4.
For iPad users watch the movie here> Classic Tween
How to Create a Classic Tween in Flash-Tutorial
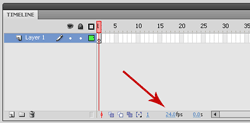
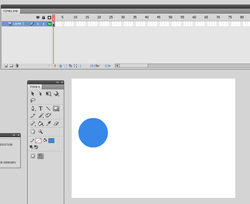
Begin by opening up a new file in Flash, choose Action Script 3.0. Make sure that your frame rate is on 24.o frames per second. Anything less than that can cause your animation to appear choppy. In the first blank keyframe of your timeline, draw a shape that you want to animate. For this demonstration, I am using the oval tool to draw a circle.
Now draw that shape in your stage. You can draw it anywhere that you would like, but because I’m going to show you how to move it from one side of the stage to the other, I’m going to draw it on the left side of the stage.
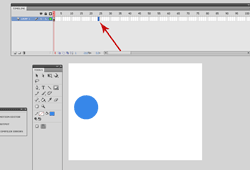
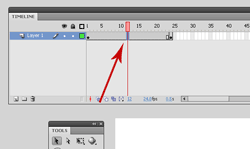
Now go out a bit on your timeline. I am going to going to go out to frame 24. This means that it will take 1 second for my circle to travel from one side of the stage to the other. Right click on the frame that you want the circle to be on the other side of the stage. Select “insert keyframe”.
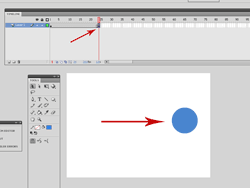
Now you can select the circle and either move it with your mouse to where you want it to be, or you can hold the “shift” key and move it with the arrow keys.
Now go inside of the gray space between the two keyframes in your timeline. Right click and select “create classic tween”.
Now your classic tween has been created. Hit “ctrl” + “enter” to quick export your movie. It should look something like this…
