 So you’ve got that frame by frame animation drawn, but there’s no color. All you have is a line drawing. This tutorial will fix that for you. Here we will take a look at how to add color to a frame by frame animation in Flash. All it takes is understanding the basic tools for adding color. Take a look at the following video. If you want a more detailed step by step look at the process, just scroll down.
iPad users watch the movie here>Add Color to Frame by Frame Animation
How to Add Color to a Frame by Frame Animation in Flash-Step by Step
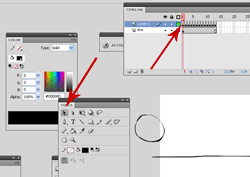
Start out by creating a frame by frame animation made of just line drawings. If you don’t know how to do that, take a look at this tutorial. After you have drawn your frame by frame animation, go to the first frame of your animated object. Make sure to select in the grey area outside of your stage to deselect the object. That way, when you select a new color, it won’t color your outline.
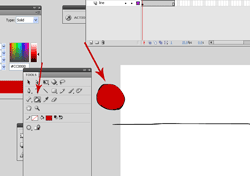
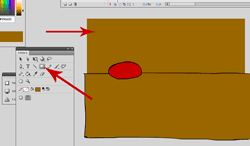
Now grab the paint bucket tool and pick a new color. I’m going to choose red. Now move the paint bucket cursor into the area that you want to add color and click. The color you selected will show up in the object. If it doesn’t, just click on the small circle in your tool bar. Select “close small gaps”, close “medium gaps”, or close “large gaps”. Now, try it again. It should fill in the color. But if it still refuses to cooperate, hit “ctrl+-” to zoom out and try again. If it still doesn’t work, you may have to complete the drawing to make a closed shape.
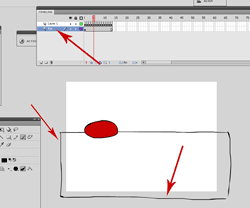
Continue with ever frame in your animation. You must add color to every frame. Remember, you can just press “.” to quickly advance to the next frame. Once you’ve got your animated object colored, you can add color to the other objects. We’ll begin with the ground. Make sure that you are on the right layer first. Use the paintbrush to draw a line off of the stage to close in the shape so that it will be easy to color with the paint bucket.
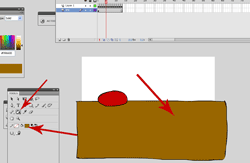
Now, just grab that paint bucket tool again and color in the shape whatever color that you want.
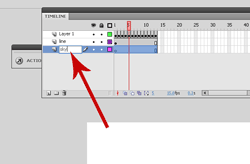
Now, let’s add a background. In this case I’ll draw a sky. Create a new layer and pull that layer to the bottom of your layer order.
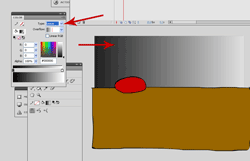
Grab the “rectangle tool” from the tool bar. Pull out a rectangle shape that covers the stage completely.
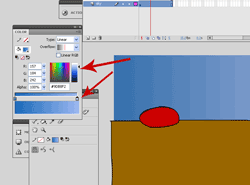
Now select the rectangle by using the black arrow in your tool bar. Go to” window” at the top and select “color” from the menu. Click on “solid” in the color menu and change it to linear to create a gradient on the rectangle shape.
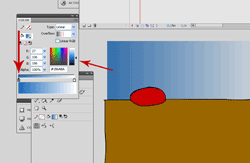
Now you can change the gradient values in the color menu. You can change the dark value to a dark blue, if you like.
And the light value to a light blue.
Now, all you have to do is rotate the gradient. Select the “gradient transformation” tool from your tool bar. Grab the white little circle that appears in the corner of the rectangle and rotate it so that you’re happy with the gradient position. You are finished. Press “ctrl+enter” to quick export your movie. You should have something like this…
